In the world of roofing, many parts work together to create a durable and long-lasting system. One such component is the drip edge. Although it may seem like a small and insignificant part, the drip edge plays a crucial role in protecting your roof and foundation from water damage and other issues. This comprehensive guide will explore the importance of a drip edge, its benefits, different types of drip edges, materials used, the installation process, and more.
What is a Drip Edge?
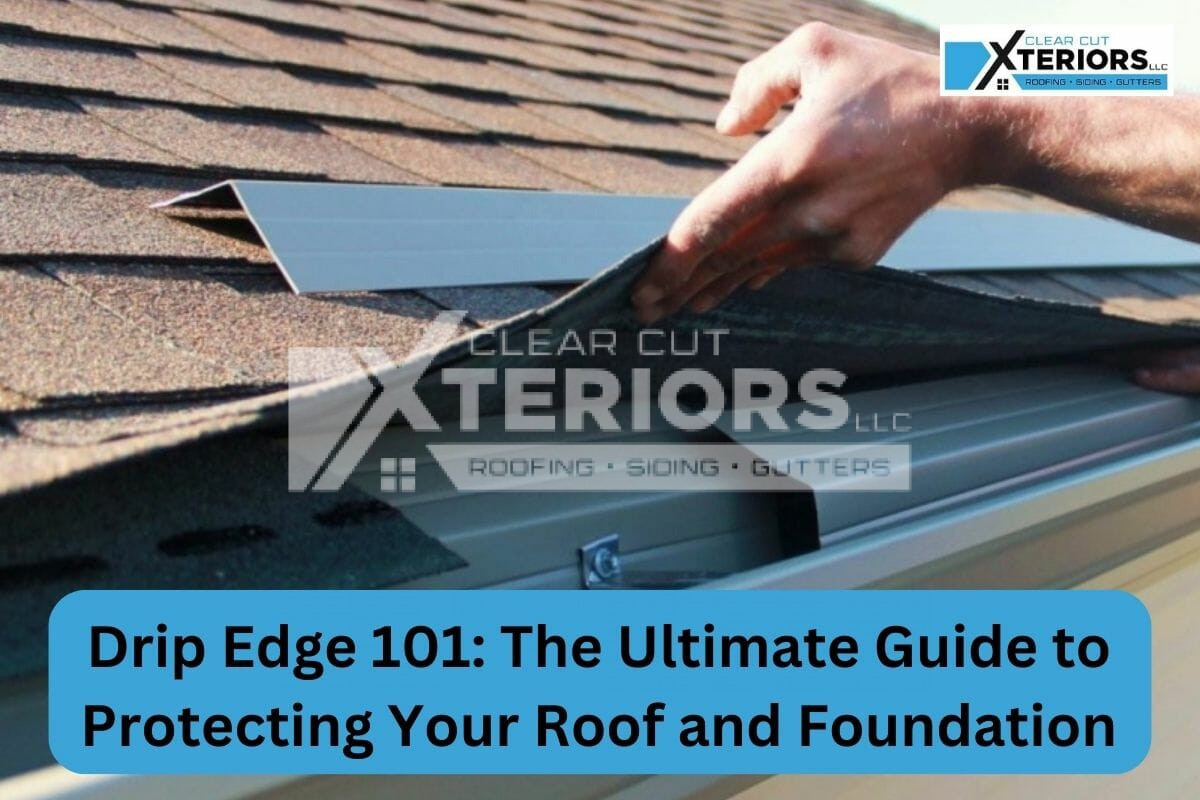
A drip edge is a type of metal flashing that is installed along the edges of a roof, where the roof’s shingles or other roofing material meet the eaves and overhangs. Its primary function is to redirect water away from the roof and into the gutters, preventing water from seeping into the underlying structure.
Why A Drip Edge Is Important?
Here are some key reasons why a drip edge is crucial for your roof:
1. Water Diversion
The primary function of a drip edge is to redirect water away from the roof’s edge. By guiding water into the gutters, a drip edge helps prevent water from seeping into the roofing structure and causing damage.
2. Protection Against Fascia Rot
The fascia board is susceptible to water damage, especially if it comes into direct contact with rainwater runoff. A drip edge creates a barrier between the roof and the fascia, preventing water from rotting the fascia board.
3. Enhanced Aesthetics
A drip edge provides a finished look to the roof’s edge, creating a clean and professional appearance. It helps align the shingles and gives a neat finish to the overall roof structure.
4. Improved Gutter Functionality
By guiding water into the gutters, a drip edge ensures that the gutters can effectively carry water away from the roof and foundation. This helps prevent gutter overflow and potential water damage to the home.
5. Reduced Risk of Roof Leaks
A well-installed drip edge on the roof acts as a protective barrier against wind-driven rain and prevents water from seeping under the shingles, reducing the risk of roof leaks.
6. Ice Dam Prevention
In colder climates, ice dams can form along the roof’s edge, leading to water backup and potential leaks. A drip edge helps prevent the formation of ice dams by allowing water to flow freely off the roof.
Types of Drip Edges
Drip edges come in various shapes and profiles, each designed to suit different roofing systems and architectural styles. Here are the most common types of drip edges:
T-Style Drip Edge:
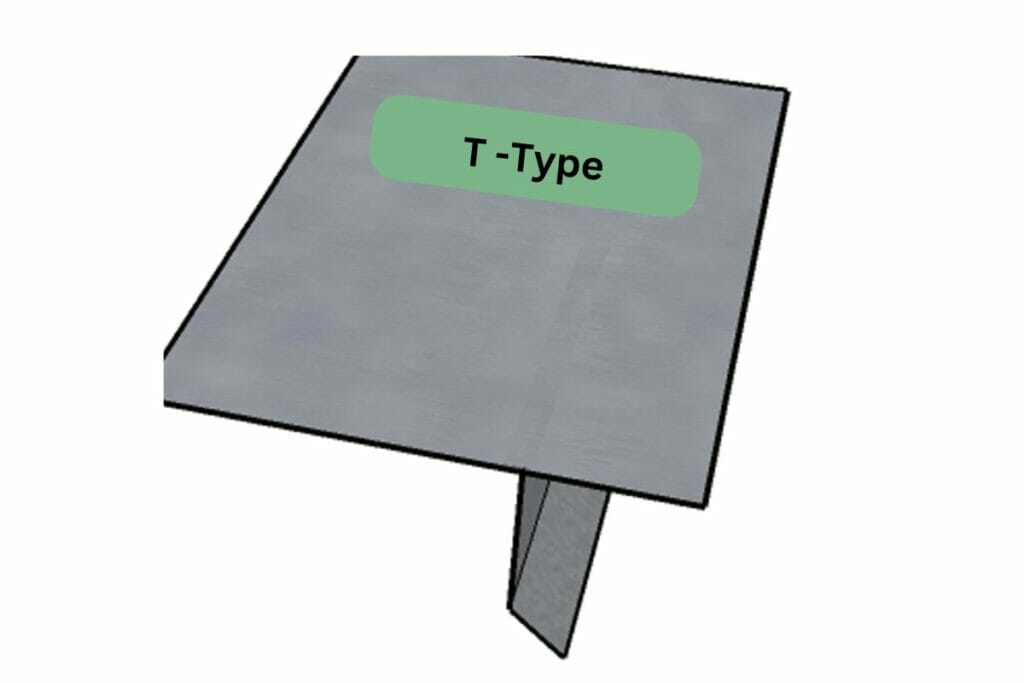
The T-style drip edge features a longer vertical flange that extends down the fascia. This additional flange provides extra protection for the fascia against water damage.
F-Style Drip Edge:
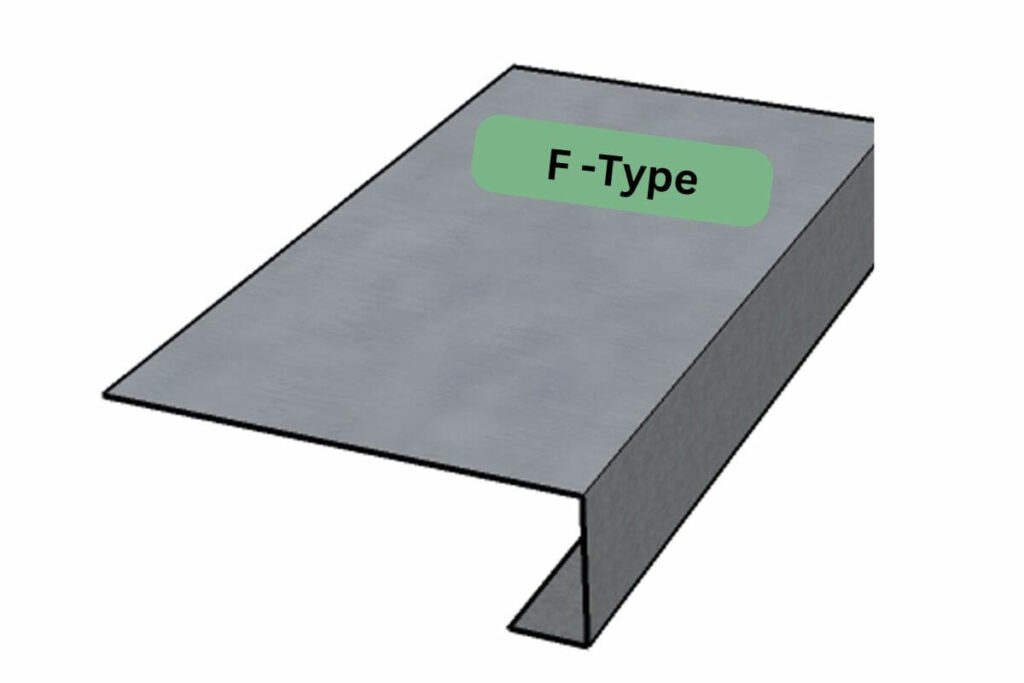
The F-style drip edge has an extended flange that overlaps the roof deck and the fascia. It is commonly used in areas with high wind exposure to prevent wind-driven rain from entering behind the gutters.
C-Style Drip Edge:
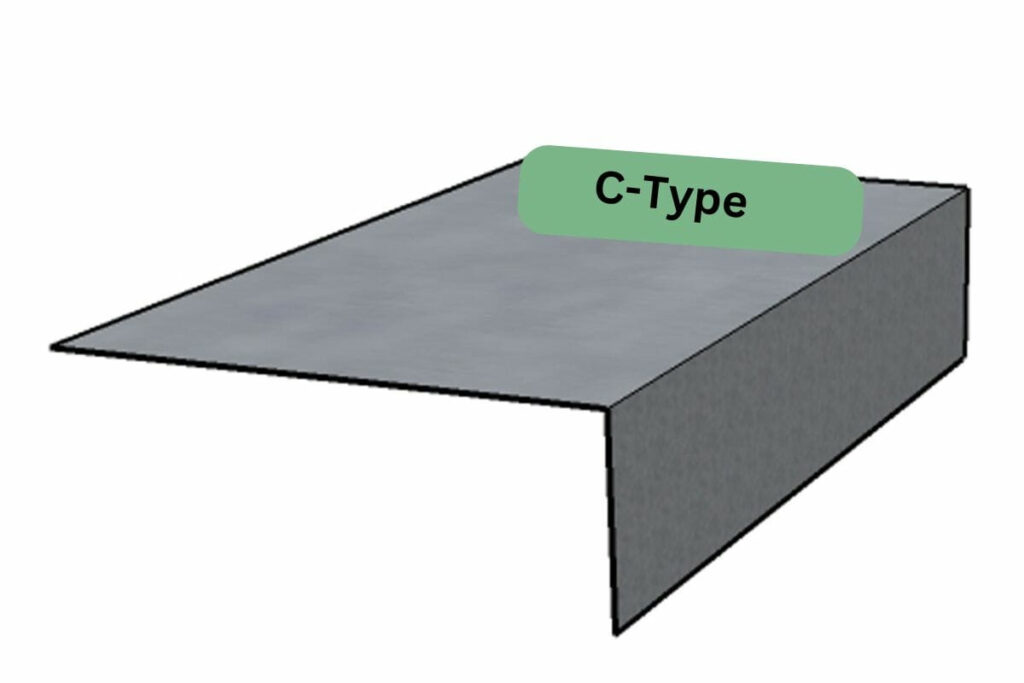
The C-style drip edge is specifically designed for metal roofs. It has a curved shape that fits perfectly with standing seam metal roofs, providing a smooth transition between the roof and fascia.
Z-Style Drip Edge:
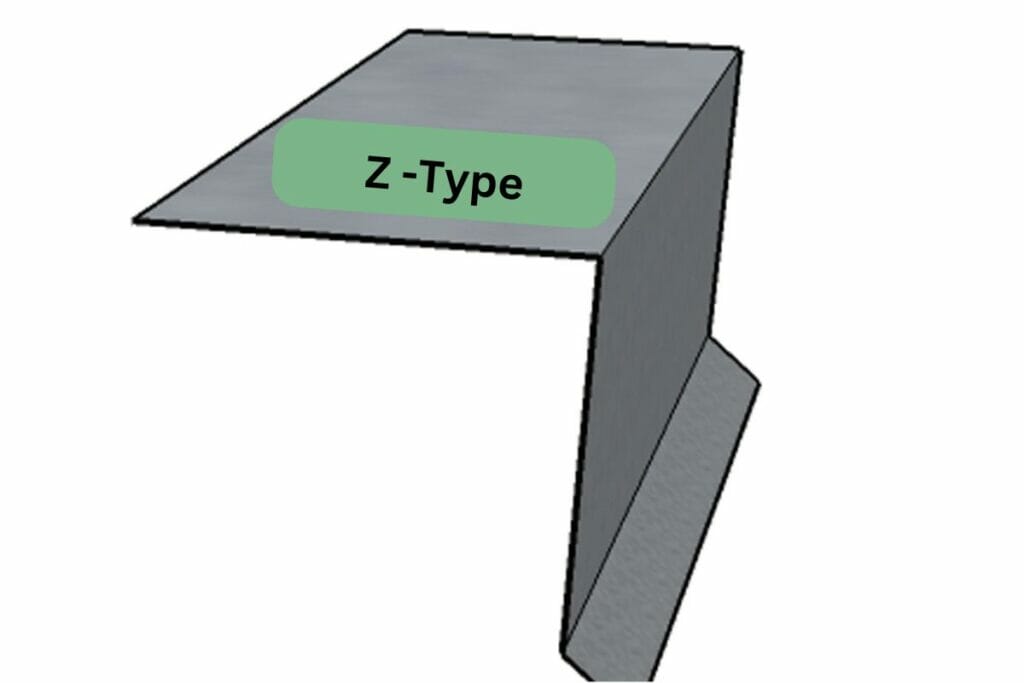
The Z-style drip edge has a distinctive Z-shaped profile. Primarily used for steep-slope roofs to redirect water away from the fascia onto the roof’s surface, the Z-style drip edge ensures effective drainage.
Materials Used for Drip Edges
Drip edges are typically made from durable and weather-resistant materials. The choice of material depends on factors such as the climate in your area, your budget, and aesthetic preferences. Here are the most commonly used materials for drip edges:
Aluminum
Aluminum is a popular choice for drip edges due to its lightweight nature and affordability. Due to its corrosion resistance, aluminum is the most preferred choice when it comes to drip edge installation. Because it can be shaped to complement any architectural design, the aluminum drip edge is also easy to work with.
Galvanized Steel
If strength and durability are what you’re after, galvanized steel drip edges should be at the top of your list. These heavy-duty protectors can withstand the harshest weather conditions, making them a popular choice for those living in challenging climates. Not to mention, they won’t break the bank, offering a cost-effective solution without compromising on quality.
Copper
As they gracefully age over time, a copper drip edge develops a patina that adds character to your roof. Beyond their charm, copper drip edges are incredibly durable and have a long lifespan. They’re recyclable, making them an environmentally friendly choice for the eco-conscious homeowners out there.
Vinyl
Vinyl is also a preferred option and is usually installed on modern homes. Due to its lightweight nature and affordability, many homeowners choose a vinyl drip edge. Since they come in various colors and are suitable for roofs with low slopes, they are easy to install.
How to Install a Drip Edge: A Step-by-Step Guide
Installing a drip edge is a relatively straightforward process, but it requires attention to detail and proper technique to ensure a secure and effective installation. Here is a step-by-step guide for installing a drip edge:
Prepare the Roof: Before installing the drip edge, ensure that the roof’s surface is clean and free from debris. Remove any existing drip edges or damaged flashing.
Measure and Cut the Drip Edge: Measure the length of the roof’s edge where the drip edge will be installed. Use tin snips or a metal cutting tool to cut the drip edge to the appropriate length, making sure to create mitered corners where necessary.
Install the Drip Edge on the Eaves: Starting at one corner of the roof, position the drip edge along the eaves, ensuring that the flange extends over the edge of the roof and the vertical flange covers the fascia. Use roofing nails or screws to secure the drip edge in place, placing fasteners approximately 12 to 18 inches apart.
Check and Adjust the Drip Edge: Once the drip edge is installed, check for proper alignment and ensure that it extends past the roof’s edge, directing the water into the gutters. Make any necessary adjustments to ensure a seamless fit.
Gutter Apron vs. Drip Edge: What’s the Difference?
While both a drip edge and a gutter apron serve similar functions, there are some key differences between the two:
- Location: A drip edge is installed along the edges of the roof, where the roof meets the eaves and overhang. On the other hand, the gutter apron is installed directly on top of the fascia, extending into the gutter.
- Design: The drip edge has a variety of profiles, such as T-shaped, F-shaped, C-shaped, and Z-shaped, depending on the roof’s requirements. The gutter apron has a specific L-shape design that goes under the shingles and extends into the gutter.
- Function: The drip edge primarily diverts water away from the roof’s edge and into the gutters, preventing water damage and protecting the roof structure. The gutter apron provides additional protection against wind-driven rain, ensuring that water does not enter behind the gutters.
Want to hire a roofing professional to install a drip edge on your roof?
Also Read: Ultimate Guide To Finding The Best Roofing Contractors In Minneapolis.
Conclusion
A drip edge may be a small, often overlooked roofing system component, but its importance cannot be understated. It plays a crucial role in protecting your roof and foundation from water damage, preventing ice dams, enhancing the roof’s lifespan, and maintaining the overall integrity of your home.
By understanding the benefits, types, materials available, and installation process, you can ensure that your roof is equipped with the perfect drip edge for your needs. Consult with a roofing professional to determine the best drip edge solution for your specific roof and enjoy the peace of mind that comes with knowing your home is well-protected.
Get The Best Roof Replacement Services In Minneapolis, MN
If you notice water leaks, pest infestations, or mold growth along your roof’s eave, it may indicate your roof drip edge isn’t functioning correctly and needs to be replaced. While you may be tempted to tackle this project yourself, it is best to seek professional assistance to ensure quality work. If you live in Minneapolis, the expert team of roofers at Clear Cut Xteriors is always here to help. Call us at (651) 340-3410 and consult with one of our roofing professionals. We provide home and commercial building owners with the best roof replacement services in Minneapolis, MN.

